Craft Month Project 5: Ribbon Belt
Today we were going to a party and once Cat got dressed I thought she could use a belt to go with her jumper. Since she was wearing black and red she picked out the cherry bows to wear. I thought vaguely that I had some of that ribbon left somewhere so I went digging through my ribbon stash.
Sure enough after about twenty minutes I found it, (if any one would like to come organize my ribbon stash I will pay you incookies er bows) I also located some belt hardware which was a definite plus.
Sure enough after about twenty minutes I found it, (if any one would like to come organize my ribbon stash I will pay you in
 |
| The outfit in question |
 |
| Materials: 7/8's ribbon (3" more than waist measurement) 1.5" webbing (4" more than waist measurement) 2 2" D Rings 1 1.5" belt tip liquid stitch needle and thread that matches your ribbon pliers to close belt tip |
 |
| Measure your ribbon and webbing, since Cat's waist measures 21" I used 24" of ribbon and 25" of webbing. |
 |
| Apply Liquid Stitch to the back of your ribbon from edge to edge along the entire length. |
 |
| Center in middle of webbing and press down removing all air bubbles. |
 |
| Leave a one inch gap at one end. (this is where you are going to sew your D rings) Allow Liquid Stitch to dry before moving on to next step. |
 |
| Place belt tip on the end where the ribbon is flush and use flat end pliers to tighten into place. |
 |
| Fold webbing over D-rings and sew into place securely, I went back and forth three times. |
 |
| Finished product. |
 |
| Cat wearing her belt. |
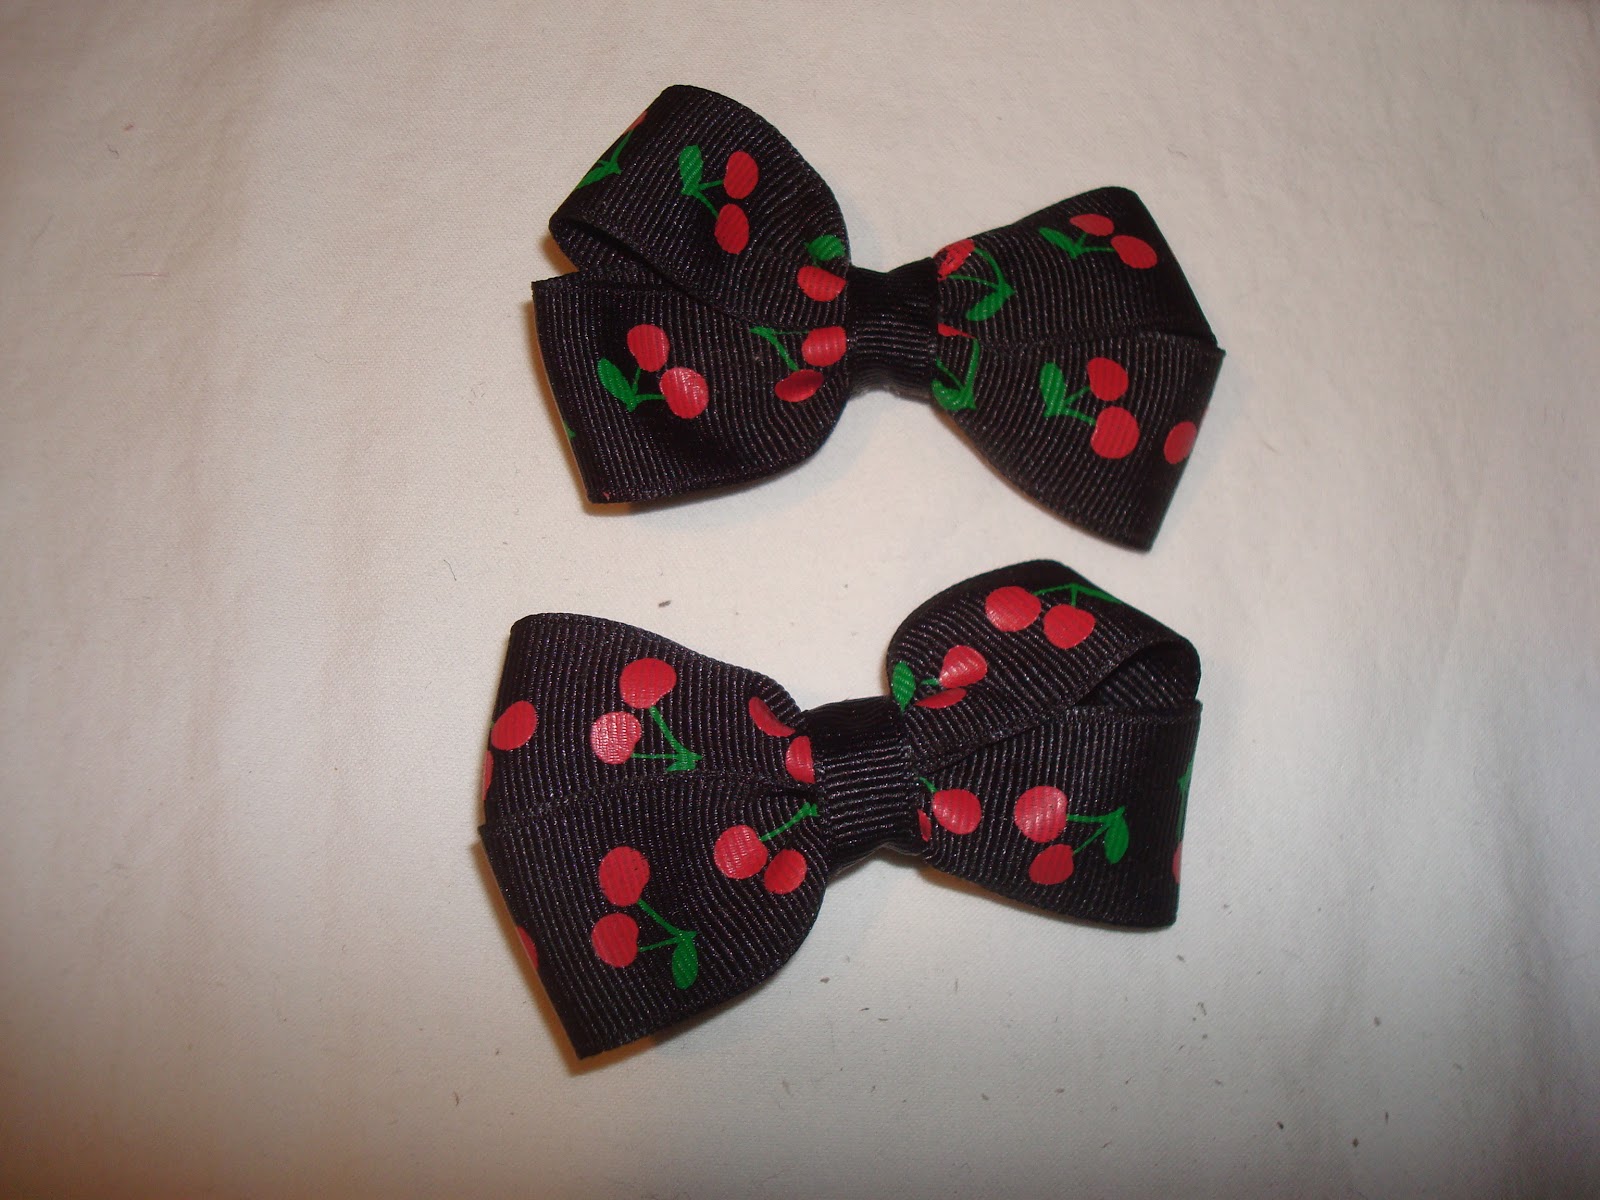 |
| The matching bows. |


If I didn't live so far away, I'd organize the ribbon. :(
ReplyDeleteBanned complain !! Complaining only causes life and mind become more severe. Enjoy the rhythm of the problems faced. No matter ga life, not a problem not learn, so enjoy it :)
ReplyDeleteObat Diabetes Herbal Paling Manjur
Obat Kanker Rahim Alami Stadium 1
Ace Maxs Obat Untuk Menghilangkan Berbagai Jenis Penyakit
Obat Untuk Membantu Mengatasi Kemandulan
Obat Kuat Lelaki Tahan Lama Alami
Pengobatan Tradisional Tumor Parotis
Cara Alami Menghilangkan Benjolan Di Leher
Obat Syaraf Kejepit Tulang Belakang
Cara Menghilangkan Keputihan Dengan Cara Herbal
Obat Untuk Ibu Hamil Agar Tidak Mual
Obat Penyakit Kebas Alami